How to Set Up Azure DevOps Services?
Azure DevOps Services is a comprehensive suite of development tools provided by Microsoft, designed to facilitate collaboration and streamline the software development lifecycle. It offers a range of services, including version control, project management, continuous integration/continuous delivery (CI/CD), and more.
This guide will walk you through the steps to set up Azure DevOps Services for your project.
What Are the Azure DevOps Services?
Azure DevOps is a platform designed to bring teams together to build software more efficiently. By combining tools and processes, it helps organizations accelerate product development and improvement compared to traditional methods.
How Do I Connect to Azure DevOps Services?
Connecting to your Azure DevOps organization is the gateway to accessing your projects, code, and collaboration tools. In this section, we’ll explore the different methods to establish a connection.
1. Creating an Azure DevOps Organization
Think of an organization as a container for your projects, teams, and their associated data. It’s the foundation upon which you’ll build your DevOps workflow. The process of creating your organization and setting the stage for efficient collaboration looks something like this:
Step 1: Sign Up for Azure DevOps
Go to the Azure DevOps website and click on Start free or Sign in to Azure DevOps.
Use your Microsoft account to sign in. If you don’t have one, you can create a free account.
Once signed in, you’ll be prompted to create an organization. Enter a unique name for your organization. This name will be part of the URL for accessing your Azure DevOps services (e.g., https://dev.azure.com/yourorganization).
Choose the Azure region closest to your location for better performance. Click on Continue to create the organization. You might need to verify your organization through email confirmation or phone verification, depending on Microsoft’s security requirements.
Step 2: Create a Project
- Click on New Project in your Azure DevOps dashboard.
- Enter a project name and description.
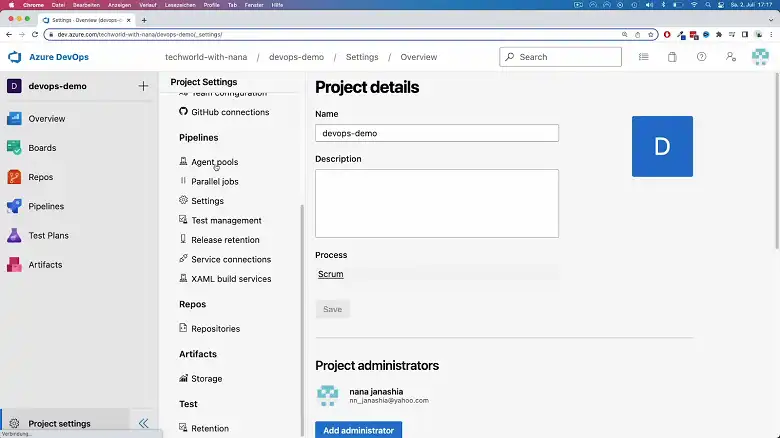
- Choose the visibility of the project (Public or Private).
- Select a version control system (Git or Team Foundation Version Control).
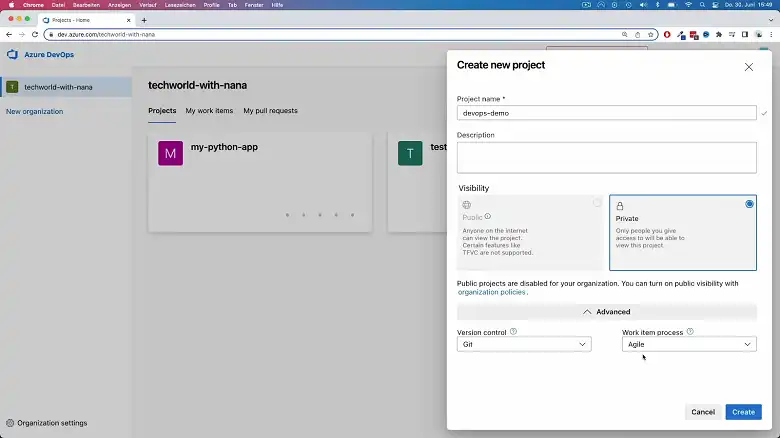
- Click on Create to set up your project.
- Navigate to the Project Settings to configure permissions, repositories, and other settings according to your project’s needs.
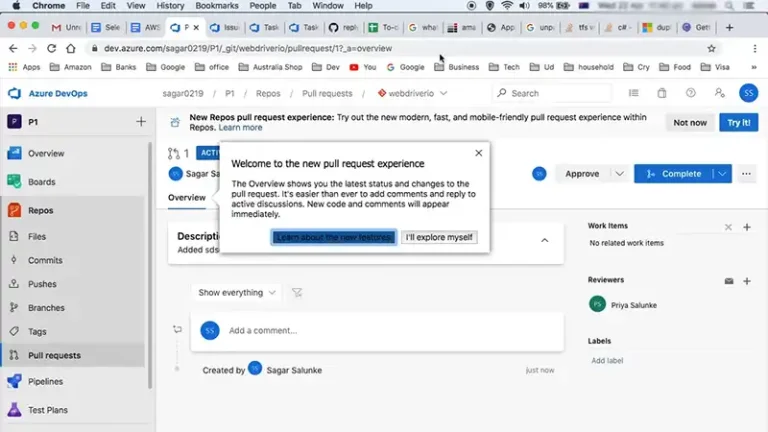
2. Setting Up Repositories
Setting up repositories involves the following 2 steps.
Step 1: Initialize a Repository
Navigate to the Repos section in your Azure DevOps project. If you chose Git as your version control system, you’ll see an option to clone the repository or import code.
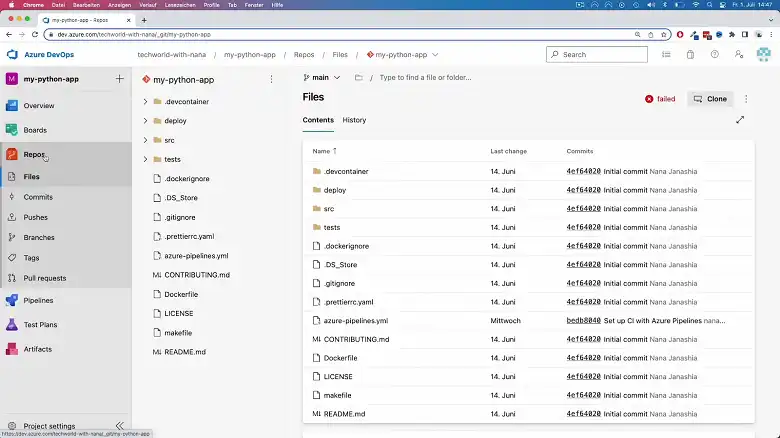
Copy the clone URL provided by Azure DevOps. Use a Git client or command-line interface to clone the repository to your local machine:
git clone https://dev.azure.com/yourorganization/yourproject/_git/yourrepositoryIf you have existing code, you can import it into your Azure DevOps repository using the Import feature.
Step 2: Commit and Push Code
- Add your code files to the cloned repository on your local machine.
- Commit Changes:
git add .

git commit -m "Initial commit"
3. Push Changes to Azure DevOps:
git push origin main3. Setting Up CI/CD Pipelines
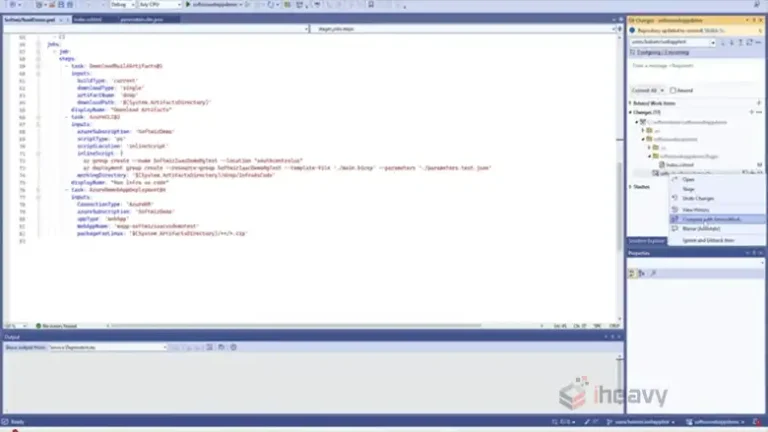
Azure DevOps provides powerful tools for setting up CI/CD pipelines, which automate the build, test, and deployment processes.
Step 1: Create a Pipeline
Go to the Pipelines section in your Azure DevOps project.
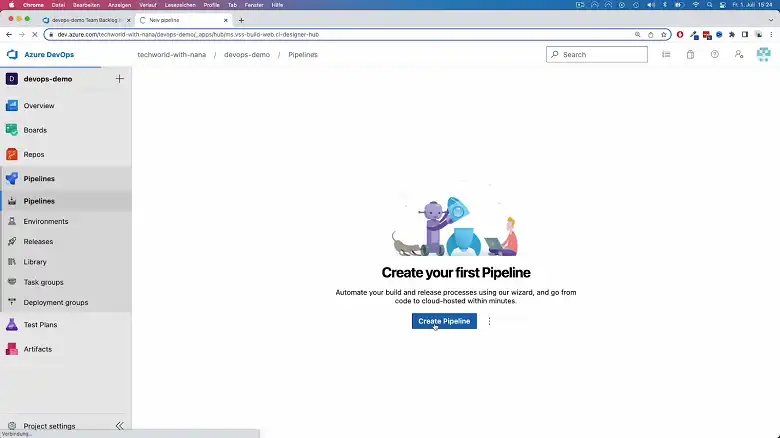
- Create a New Pipeline:
Click on New Pipeline.
Choose your code repository, such as Azure Repos, GitHub, or another supported source.
- Select a Template:
Azure DevOps offers various templates for different application types.
Select a template that suits your project or start with an empty job for a custom pipeline.
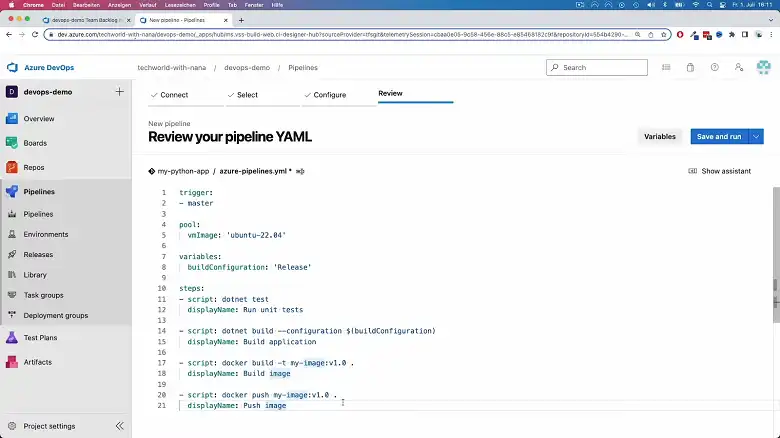
- Configure the Pipeline:
Define your build and release tasks using the YAML editor or the classic editor.
Specify the build agent and other settings required for your pipeline.
Step 2: Set Up Continuous Integration
- Enable Continuous Integration:
Go to your pipeline settings and enable Continuous Integration (CI).
Specify triggers that will initiate a build, such as code pushes or pull requests.
- Run a Build:
Save and queue a build to test your pipeline configuration.
Monitor the build process and ensure everything is set up correctly.
Step 3: Set Up Continuous Deployment
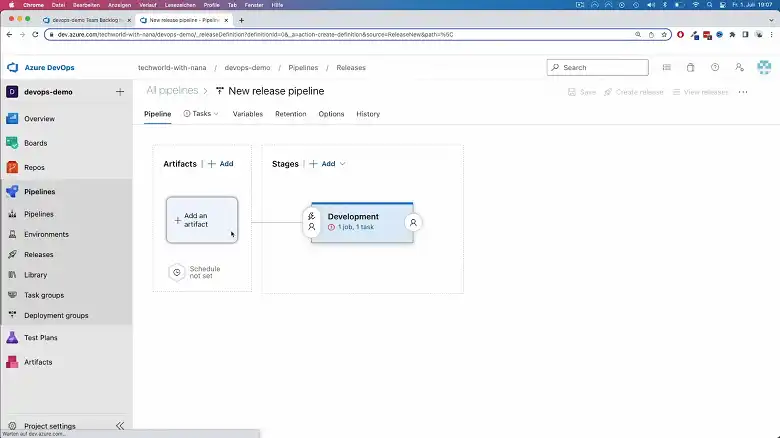
- Create a Release Pipeline:
Navigate to the Releases section and create a new release pipeline.
Define the stages and environments for deployment, such as Development, Staging, and Production.
- Configure Deployment Tasks:
Add tasks to deploy your application to the target environment, such as Azure App Service or a virtual machine.
- Enable Continuous Deployment:
Set up triggers to automatically deploy the application after a successful build.
4. Collaborate with Teams
Azure DevOps Services provide several tools for team collaboration and project management:
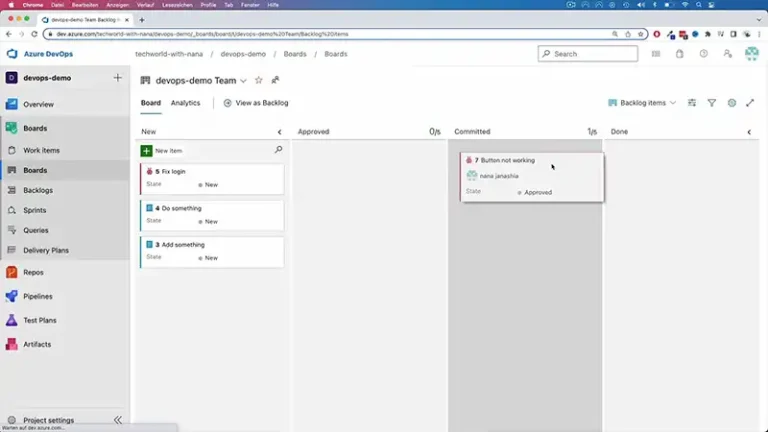
Step 1: Use Azure Boards
- Navigate to Azure Boards:
Access the Boards section in your Azure DevOps project.
- Create Work Items:
Define work items such as user stories, tasks, bugs, and features.
Assign work items to team members and track their progress.
- Use Kanban or Scrum Boards:
Organize work using Kanban or Scrum boards to visualize project status and manage workflows.
Step 2: Manage Permissions
- Configure Team Permissions:
Go to Project Settings and select Permissions.
Assign roles and permissions to team members based on their responsibilities.
Frequently Asked Questions
Is Azure DevOps PaaS or SaaS?
Azure DevOps relies heavily on a cloud-based infrastructure (PaaS). This means it automatically keeps itself updated with the latest security patches, protecting your data and applications.
What is Azure DevOps CI CD?
Azure CI/CD is a method for building and releasing software frequently and reliably. It involves continuously merging code changes and automating the deployment process.
Conclusion
Setting up Azure DevOps Services involves creating an organization, initializing repositories, configuring CI/CD pipelines, and collaborating with teams. By following these steps, you can establish a robust development environment that supports continuous integration, deployment, and project management.