Multiple YAML Build Pipelines in Azure DevOps
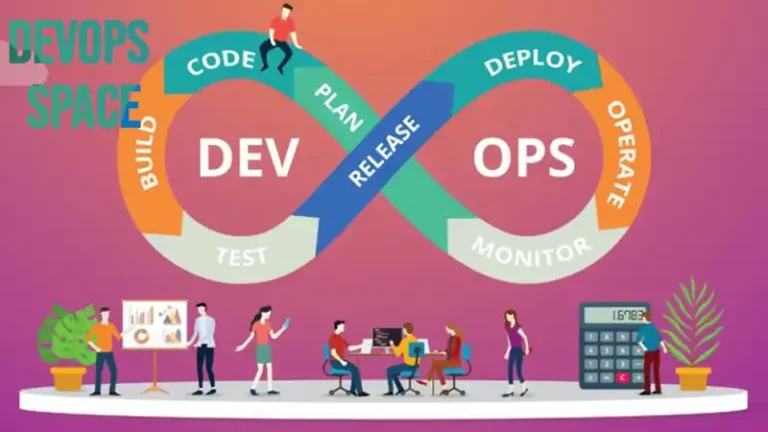
Azure DevOps is a powerful platform that provides a comprehensive suite of tools for managing the entire software development lifecycle. One of its standout features is the support for YAML-based build pipelines, which allows developers to define their build processes as code.
This article will explore how to set up multiple YAML build pipelines in Azure DevOps to manage complex projects with various components or microservices.
What is a YAML Build Pipeline?
Before diving into the implementation of multiple pipelines, it is important to understand what a YAML build pipeline is. YAML (Yet Another Markup Language) is a human-readable data serialization format used to define configuration files. In Azure DevOps, YAML is used to describe the steps and tasks required to build, test, and deploy your applications.
Here’s a basic example of a YAML pipeline:
trigger:
  - main
pool:
  vmImage: 'ubuntu-latest'
steps:
  - script: echo Hello, World!
    displayName: 'Run a one-line script'
This YAML file defines a simple pipeline that triggers on changes to the main branch, uses an Ubuntu-based agent, and runs a script to print “Hello, World!”.
Why Use Multiple YAML Pipelines?
In large projects, it’s common to have multiple components or services that need to be built and deployed independently. Using multiple YAML pipelines offers several benefits:
- Modularity: Each component can have its own pipeline, allowing for more granular control over the build and deployment process.
- Parallelism: Pipelines can run simultaneously, speeding up the overall build process.
- Flexibility: Different pipelines can have different triggers, environments, and build strategies, making it easier to handle complex workflows.
- Maintainability: Smaller, focused pipelines are easier to manage, understand, and troubleshoot.
Setting Up Multiple YAML Build Pipelines
Setting up multiple YAML build pipelines in Azure DevOps is a multi-step process as described below.
Step 1: How Do I Create Multiple Pipelines in Azure?
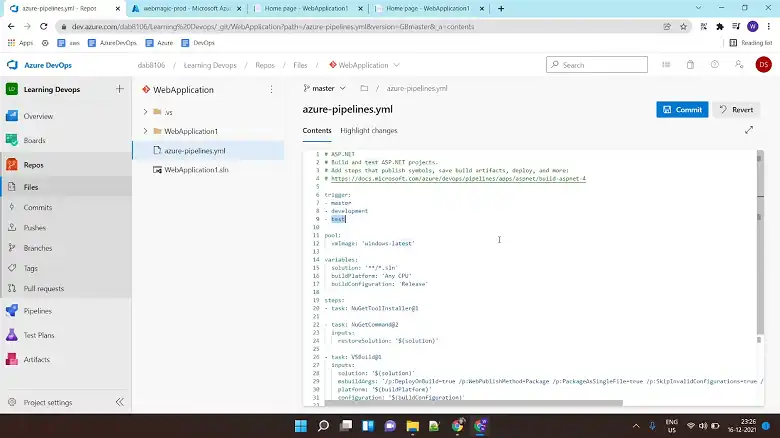
To set up multiple YAML pipelines, you’ll need to create a separate pipeline YAML file for each component of your application. These files can be stored in the same repository or in different repositories, depending on your project’s structure.
Example Structure
Let’s consider a project with two microservices: service-a and service-b. Each service will have its own YAML pipeline.
.
├── service-a
│   ├── Dockerfile
│   ├── src
│   └── azure-pipelines.yml
└── service-b
    ├── Dockerfile
    ├── src
    └── azure-pipelines.yml
Step 2: Define Individual Pipeline YAML Files
For each service, define the build, test, and deploy steps in its azure-pipelines.yml file.
Service A Pipeline (service-a/azure-pipelines.yml)
trigger:
  - main
pool:
  vmImage: 'ubuntu-latest'
steps:
  - script: echo Building Service A
    displayName: 'Build Service A'
  - script: echo Testing Service A
    displayName: 'Test Service A'
  - script: echo Deploying Service A
    displayName: 'Deploy Service A'
Service B Pipeline (service-b/azure-pipelines.yml)
trigger:
  - main
pool:
  vmImage: 'ubuntu-latest'
steps:
  - script: echo Building Service B
    displayName: 'Build Service B'
  - script: echo Testing Service B
    displayName: 'Test Service B'
  - script: echo Deploying Service B
    displayName: 'Deploy Service B'
Step 3: Configure Pipelines in Azure DevOps
- Navigate to Pipelines: Go to the Azure DevOps portal and navigate to the Pipelines section of your project.
- Create New Pipeline: Click on “New Pipeline” and select the repository where your YAML files are stored.
- Select Existing YAML File: Choose “Existing Azure Pipelines YAML file” and specify the path to the azure-pipelines.yml file for each service.
- Repeat: Repeat the process for each service, ensuring that each has its own separate pipeline.
Step 4: Customize Pipeline Triggers and Conditions
Each pipeline can have custom triggers and conditions. For example, you can configure Service A’s pipeline to trigger only when files in its directory change:
trigger:
  branches:
    include:
      - main
  paths:
    include:
      - service-a/*
Step 5: Implement Pipeline Dependencies (Optional)
If there are dependencies between your services, you can orchestrate their builds using pipeline resources. This is particularly useful in cases where one service depends on the successful build of another.
Example of Pipeline Dependencies
- Service B Depends on Service A
You can define a dependency in Service B’s pipeline to wait for Service A’s build to complete successfully:
resources:
pipelines:
    - pipeline: ServiceA
      source: ServiceA-Pipeline
      trigger:
        branches:
          include:
            - main

trigger:
  branches:
    include:
      - main
pool:
  vmImage: 'ubuntu-latest'
steps:
  - script: echo Building Service B
    displayName: 'Build Service B'
  - script: echo Testing Service B
    displayName: 'Test Service B'
  - script: echo Deploying Service B
    displayName: 'Deploy Service B'
In this example, Service B’s pipeline waits for Service A’s pipeline to run and succeed before proceeding with its own build steps.
Best Practices for Multiple YAML Pipelines
1. Modularize Shared Steps: If multiple pipelines have common steps, consider creating templates that can be reused across pipelines. This reduces duplication and makes maintenance easier.
# File: build-steps.yml
parameters:
  - name: serviceName
    type: string
steps:
  - script: echo Building $(serviceName)
    displayName: 'Build $(serviceName)'
  - script: echo Testing $(serviceName)
    displayName: 'Test $(serviceName)'
  - script: echo Deploying $(serviceName)
    displayName: 'Deploy $(serviceName)'
# File: azure-pipelines.yml
trigger:
- main
pool:
vmImage: 'ubuntu-latest'
steps:
- template: build-steps.yml
parameters:
serviceName: Service A2. Utilize Environments and Approvals: Use environments for managing deployments to different stages (e.g., dev, test, production) and set up approval gates as needed.
3. Leverage Caching: Use caching to speed up builds by reusing dependencies and build outputs.
steps:
  - task: Cache@2
    inputs:
      key: 'npm | "$(Agent.OS)" | package-lock.json'
      restoreKeys: |
        npm | "$(Agent.OS)"
      path: $(npmCacheFolder)
4. Secure Secrets and Variables: Store sensitive information like passwords and API keys in Azure DevOps variable groups or Azure Key Vault.
Frequently Asked Questions
How do I duplicate a build pipeline in Azure DevOps?
To clone a Classic pipeline in Azure, you’ll need permission to edit either a release or build pipeline. Locate the pipeline you want to copy, then select the ellipsis button and choose “Clone.” This creates a new pipeline with “-clone” added to its name. Save or save and queue the cloned pipeline to finalize the process.
How to combine multiple YAML files into one?
YAML files can be combined using a merge operation. When merging multiple YAML files, values from subsequent files will overwrite existing or empty values in the initial file. This allows you to create a final YAML document by combining information from different sources.
Can I include a YAML file inside another?
YAML configurations can be structured hierarchically. Main configuration files can incorporate settings from other YAML files, creating a modular approach. Values from included files are merged into the main configuration, providing flexibility in managing settings.
Conclusion
Setting up multiple YAML build pipelines in Azure DevOps allows for a modular, efficient, and maintainable build process. By following best practices such as modularizing shared steps and leveraging pipeline dependencies, you can optimize your Azure DevOps pipelines to suit your project’s needs. Thank you for reading!