How to Install SSIS in Visual Studio
SQL Server Integration Services (SSIS) is a powerful tool for data integration, transformation, and migration. It is part of the Microsoft SQL Server suite and is typically installed and used within Visual Studio.
Installing SSIS in Visual Studio involves setting up the SQL Server Data Tools (SSDT) and integrating the SSIS extension. This article will guide you through the steps of installing SSIS within your Visual Studio environment, ensuring you’re equipped to leverage its capabilities for your data-driven projects.
How to Install SSIS Step by Step?
Before starting the installation, ensure the following prerequisites are met:
- Visual Studio Installation: SSIS requires Visual Studio 2019 or later. Ensure Visual Studio is installed on your machine.
- SQL Server Data Tools (SSDT): This is an extension for Visual Studio that includes project templates for SSIS, SQL Server Reporting Services (SSRS), and SQL Server Analysis Services (SSAS).
With that out of the way here are the steps you need to follow in order to install SSIS properly.
Step 1: Install Visual Studio 2019 or Later
- Download Visual Studio: Go to the Visual Studio download page and download the latest version.
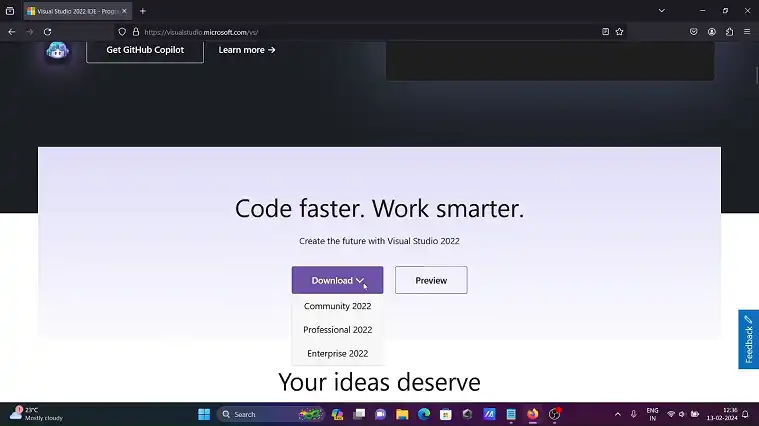
- Run the Installer: Once the download is complete, run the installer.
- Select Workloads: During the installation, select the Data storage and processing workload. This will include SSDT necessary for SSIS.
- Complete Installation: Follow the prompts to complete the installation. This process may take some time depending on your system and internet speed.
Step 2: Install SQL Server Data Tools (SSDT)
SSDT (SQL Server Data Tools) is an extension for Visual Studio that provides project templates for SQL Server-related development, including SSIS. SSDT is necessary to develop, debug, and deploy SSIS packages in Visual Studio. Here’s how to install SSDT.
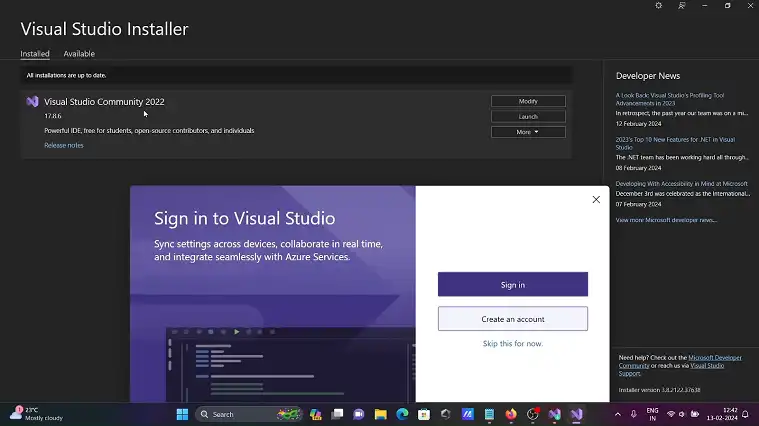
- Launch Visual Studio Installer: Open the Visual Studio Installer from your Start menu.
- Modify the Installation: Click on the Modify button next to your Visual Studio installation.
- Select SQL Server Data Tools: In the Workloads tab, check the Data storage and processing option. If you missed this during the initial installation, this step will add SSDT.
- Install the Workload: Click Modify to install the selected workloads. This will include the core components required for SSIS.
Step 3: Install SSIS Extension
- Open Visual Studio: Launch Visual Studio after installing SSDT.
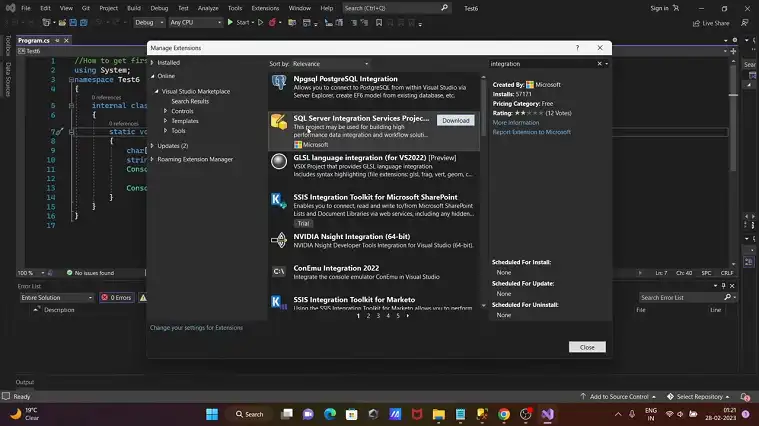
- Go to Extensions: Navigate to Extensions > Manage Extensions.
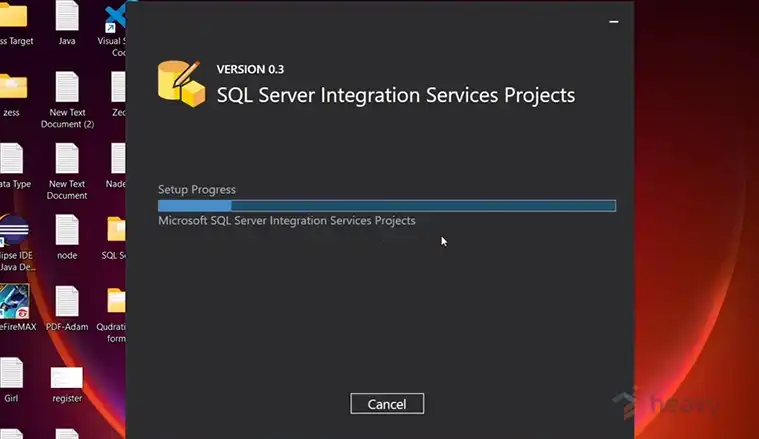
- Search for SSIS: In the search box, type SQL Server Integration Services Projects.
- Download and Install: Click on the Download button next to the SQL Server Integration Services Projects extension. Visual Studio may need to restart to complete the installation.
- Restart Visual Studio: After installation, close and reopen Visual Studio to load the new SSIS project template.
Step 4: Create an SSIS Project
- Open Visual Studio: Ensure Visual Studio is running with the SSIS extension installed.
- Create a New Project: Go to File > New > Project.
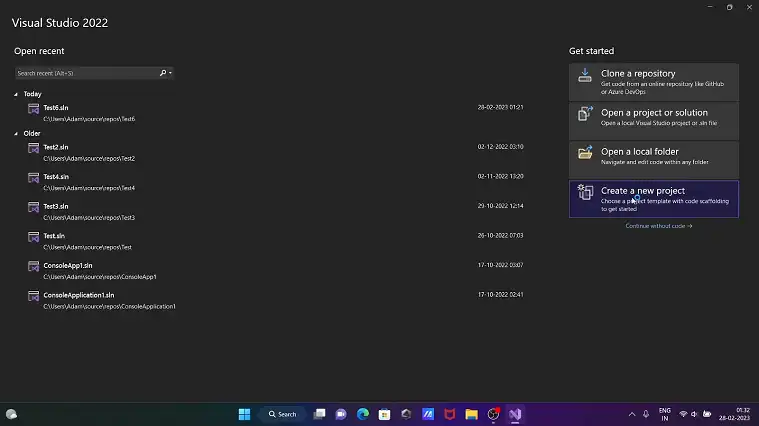
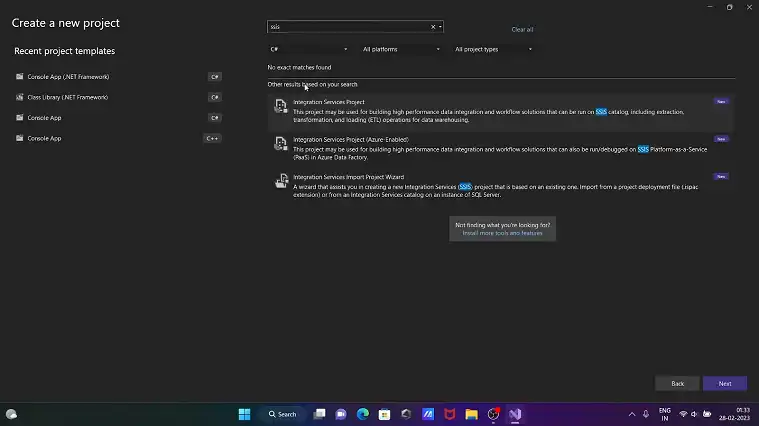
- Select SSIS Project Template: In the new project dialog, search for Integration Services and select Integration Services Project.
- Configure Project: Give your project a name and choose a location to save it.
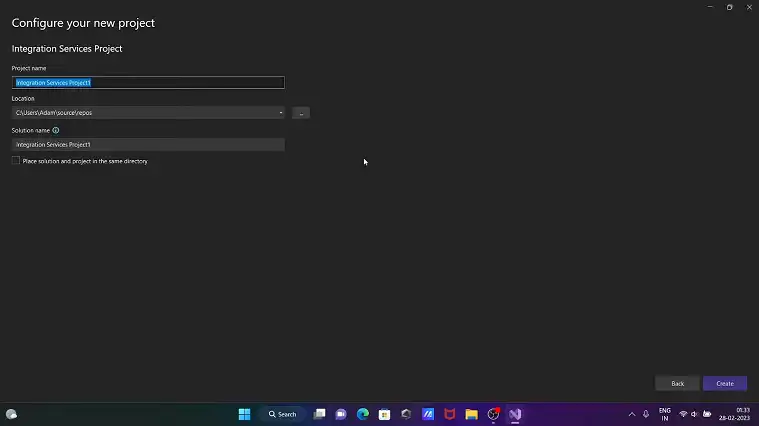
- Start Developing SSIS Packages: Once the project is created, you can start developing SSIS packages by adding new data flows, transformations, and control flows.
Frequently Asked Questions
How to know if SSIS is installed?
To confirm that SQL Server Integration Services (SSIS) and its designer are installed, open SQL Server Data Tools. You can find this by going to the Start menu, selecting All Programs, then Microsoft SQL Server, and finally clicking SQL Server Data Tools.
Can I use SSIS without Visual Studio?
The standalone SSIS DevOps Tools offer a collection of executable files that can be used to perform CI/CD tasks for SQL Server Integration Services (SSIS). These tools are independent of Visual Studio or the SSIS runtime, making them adaptable for integration with various CI/CD platforms.
Conclusion
By following the steps outlined in this article, we hope you have successfully installed SQL Server Integration Services (SSIS) within your Visual Studio environment. This integration empowers you to design, develop, and deploy robust SSIS packages for automating data integration and transformation tasks.