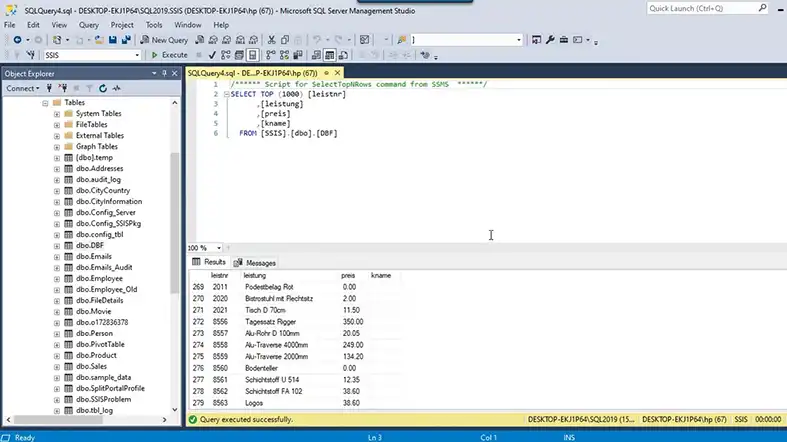
Importing DBF Files Into SQL Server | Steps
Working with diverse data formats is a common challenge in the realm of database management. If you find yourself needing to import DBF (dBASE) files into SQL Server, this comprehensive guide will walk you through the process step by step, ensuring a smooth and efficient data transfer.

Why Import DBF Files into SQL Server
DBF files, widely associated with dBASE database systems, store structured data. Importing these files into SQL Server is essential for centralizing data, enabling advanced querying, and facilitating seamless integration with other databases and applications.
What Do You Need To Import DBF Files into SQL Server
Before starting the import process, ensure you have the following:
- SQL Server Management Studio (SSMS): The primary tool for managing SQL Server.
- DBF Files: The files you wish to import into SQL Server.
How to Import DBF Files Into SQL Server
To Import DBF files into SQL server, Follow the steps below:
Step 1: Connect to SQL Server:
Open SQL Server Management Studio and connect to your SQL Server instance. Ensure you have the necessary permissions to create and manage databases.
Step 2: Create a Target Database:
If you don’t have a dedicated database for the imported data, create one using the following SQL command:
sql
CREATE DATABASE YourDatabaseName;
USE YourDatabaseName;
Step 3: Install the Microsoft.ACE.OLEDB.12.0 Provider:
DBF files are often accessed through OLE DB. If you don’t have the Microsoft.ACE.OLEDB.12.0 provider installed, download and install it. This provider allows SSMS to interact with DBF files.
Step 4: Import Data Using SQL Server Import and Export Wizard:
Perform the steps below:
- Open SSMS, right-click on the target database, and select “Tasks” -> “Import Data.”
- In the SQL Server Import and Export Wizard, select the data source. Choose “Microsoft OLE DB Provider for ACE” as the source provider.
- Configure the data source properties, specifying the path to the folder containing the DBF files.
- Select the destination as “SQL Server Native Client” and configure the destination properties, providing the SQL Server connection details.
- Choose the “Copy data from one or more tables or views” option.
- Specify the source tables or views you want to import. Review and modify column mappings as needed.
- Complete the wizard, and click “Finish” to execute the import process.
Step 5: Verify the Data:
Once the import process is complete, verify the data in your SQL Server database. Run sample queries to ensure the accuracy and integrity of the imported data.
Frequently Asked Questions
How do I ensure compatibility between DBF file data types and SQL Server during the import process?
To ensure compatibility, carefully review and align data types between the DBF file and SQL Server. Address any discrepancies by modifying column mappings during the import process to prevent data type conversion issues.
Can I use SQL Server Management Studio (SSMS) for importing DBF files, and if so, what are the steps involved?
Yes, SQL Server Management Studio includes the SQL Server Import and Export Wizard, a tool that simplifies the import process. The steps involve connecting to SQL Server, creating a target database, installing the required OLE DB provider, and configuring the wizard to import data from the DBF files.
Are there any precautions I should take before importing DBF files into SQL Server?
Before initiating the import process, it is crucial to perform a backup of your SQL Server database. This precautionary step ensures that, in the event of any unforeseen issues during the import, you can recover your database to its previous state and avoid data loss.
Conclusion
Optimizing performance post-import involves considerations such as indexing. If the imported tables are expected to undergo frequent queries, consider creating appropriate indexes to enhance query execution speed.


