How to Create a User in RDS MySQL
Creating a user in RDS MySQL involves several key steps, from connecting to the database to assigning the appropriate privileges. Whether you are managing a new or an existing MySQL instance in AWS RDS, it is important to understand how to securely set up users.
The following methods will guide you through creating a user efficiently while ensuring the right permissions are in place.
How to Setup RDS MySQL?
Before creating a user, you need access to your RDS MySQL instance. This typically involves using a MySQL client, such as MySQL Workbench or the command line interface. Ensure that your security group allows connections from your IP address.
To connect via the command line:
mysql -h <endpoint> -u <admin_user> -pIn this command, <endpoint> refers to your RDS instance endpoint, and <admin_user> is the RDS admin user. The -p flag prompts for your password. After entering your credentials, you’ll have access to your MySQL database.
How Do I Create a New User in RDS MySQL?
Once connected to your database, creating a new user is straightforward. You need to issue a CREATE USER command, followed by defining the username and password.
For a basic user creation:
CREATE USER 'new_user'@'%' IDENTIFIED BY 'user_password';This command creates a user named new_user accessible from any host (‘%’). The password for this user is defined as user_password.

It is important to ensure that user passwords meet the required security standards. This includes using a combination of upper and lower case letters, numbers, and special characters.
Assigning Privileges to the User
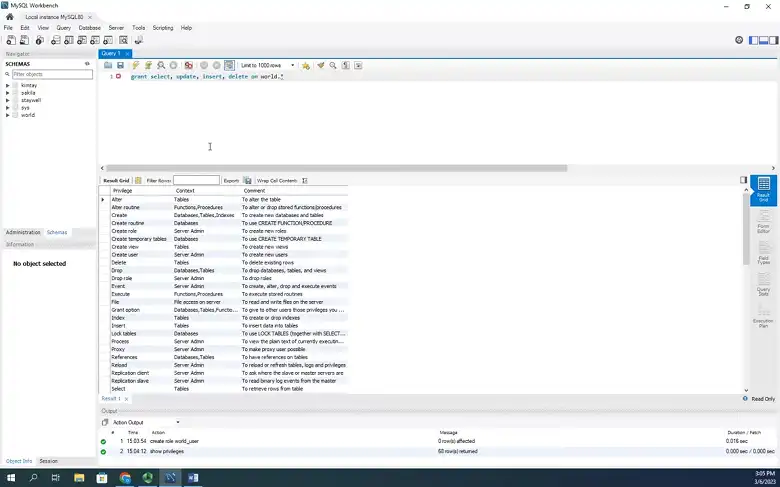
After creating the user, you’ll need to assign appropriate privileges. Without privileges, the user cannot perform any actions in the database. MySQL uses the GRANT command to assign permissions to users.
To grant full privileges on a specific database:
GRANT ALL PRIVILEGES ON database_name.* TO 'new_user'@'%';This command gives the new user full access to all tables within the specified database. The wildcard (*) allows access to all tables, while ‘%’ again indicates that this user can connect from any host.
Once privileges are granted, you must apply the changes with the FLUSH PRIVILEGES command:
FLUSH PRIVILEGES;This step ensures that MySQL reloads the permission tables, applying the changes to the new user.
Limiting Access Based on Host
In certain cases, you may want to restrict user access to specific hosts for security reasons. This can be done by modifying the CREATE USER command, specifying an IP address or domain in place of the wildcard (%).
For example, to limit access to a specific IP:
CREATE USER 'new_user'@'192.168.1.10' IDENTIFIED BY 'user_password';This restricts the new_user to connect only from the IP 192.168.1.10.
How to Delete a User in RDS MySQL?
There may come a time when a user no longer needs access to the database. In this case, you can remove the user using the DROP USER command:
DROP USER 'new_user'@'%';This command permanently deletes the specified user from the MySQL database, removing all associated privileges.
Frequently Asked Questions
What happens if I don’t assign any privileges to a user?
If you don’t assign any privileges, the user will be able to log in but will not have permission to interact with any databases.
Is there a way to view all users in MySQL?
You can list all users in the MySQL database by querying the mysql.user table:
SELECT user, host FROM mysql.user;This provides a list of all users and the hosts they are associated with.
Conclusion
In this article, we’ve explored the process of creating users in Amazon RDS MySQL. We’ve discussed the importance of user management for security and access control. By following the steps outlined in this guide, you can effectively create users with specific privileges to manage your database resources.
Always remember to review the privileges assigned to ensure that they match the intended use case, minimizing the risk of unauthorized access. Thank you for reading!